A privacy hedge does something a fence never quite manages — it softens a boundary, absorbs noise, provides habitat, and improves with age. In Nanaimo and Lantzville, a mature hedge is one of the most valued features a property can have. Planted right, the right species requires only a trim once or twice a year and will look better in 20 years than it does today.
Spring — from late April through May — is the ideal planting window on Vancouver Island. The soil is workable, rain is still falling, and plants have the full growing season ahead to establish before their first dry summer. Here is how to do it right, from choosing your species to planning the first trim.
Step 1: Choose Your Species for the Site
Think about sun exposure, soil drainage, available space, and how quickly you need privacy. Your species choice drives everything downstream — spacing, watering frequency, trimming schedule, and long-term maintenance. The two most common choices in Nanaimo are western red cedar and cherry laurel, and they are genuinely different plants with different trade-offs.
Western red cedar grows about 15 cm per year and takes patience — you will wait five to seven years for a solid screen. But it is remarkably long-lived, holds its rich green colour through winter, and trims into crisp, formal lines. On a 50-year-old Nanaimo property, a well-maintained cedar hedge looks better than any fence ever did.
Cherry laurel grows 30 to 40 cm per year and gives you meaningful privacy in two to three seasons. It is more forgiving of wet or poorly drained soils — common in low-lying parts of Nanaimo — and handles part shade reasonably well. The trade-off: more trimming debris per session (a mature laurel produces a significant volume of clippings) and a slightly coarser, broader appearance.
For shaded spots under existing conifers or tight urban lots, Portuguese laurel or English yew handle low light better than cedar and can be shaped into a clean, dense screen. Both are slower than cherry laurel but more refined.
Step 2: Prepare the Planting Trench
Mark your hedge line with stakes and string, then dig a trench at least 60 cm wide and 45 cm deep. Wider is better — hedge roots spread laterally, and a generous trench gives you room to properly amend the soil.
Most Nanaimo and Lantzville soil benefits from organic amendment. Sandy loam near the coast drains quickly and loses moisture fast in summer. Silty clay further inland can hold too much water through winter. Either way, mix in compost at roughly 30% by volume before backfilling. This is your one chance to set the root environment for the next three decades. Take the time to do it properly.
Step 3: Set Your Spacing and Alignment
Cedar: 60 to 90 cm between plants for a dense hedge within five to seven years. Cherry laurel: 90 to 120 cm. Tighter spacing gives quicker cover but costs more in plants; wider spacing is more economical but slower to fill in.
Take your string line seriously. A hedge row that wavers by even a few centimetres compounds visually over years until it becomes obviously uneven. For curved hedges, lay a garden hose on the ground to trace the arc before you dig a single spade — adjusting the curve on paper is far easier than adjusting it once you have a trench.
For a very long hedge row, run your string line in sections between driven stakes rather than trying to tension it across the full length. Sag in the middle of a long string will throw your spacing off.
Step 4: Plant at the Correct Depth
Set each plant so the top of its root ball sits level with — or just slightly above — the surrounding soil. Never bury the crown. Deep planting causes crown rot and slow decline, especially with cedar in heavier or wetter soils.
Backfill with your amended soil and firm it in gently to remove air pockets — not stamped hard, just steady pressure with the heel of your boot. Build a shallow watering basin around each plant to direct irrigation to the root zone rather than letting it run off the surface.
Step 5: Water In Thoroughly
Immediately after planting, give each plant a deep, slow soak. You want water to move through the root ball and down into the native soil beneath — not just wet the surface. In Parksville and Nanaimo, May can still bring meaningful rainfall, but from late June the dry season takes over quickly. Plan to water at least twice per week for the first four to six weeks, then once weekly through summer if rain is not doing the work.
Step 6: Mulch the Full Hedge Line
Apply 7 to 10 cm of bark mulch along the entire planting trench, keeping a few centimetres of clearance around the base of each stem. Mulch is not decorative — on a dry August day in Nanaimo, unmulched hedging can lose weeks of establishment time to heat stress. It also keeps the weeds down while your plants are still small enough that competition matters. Top up the mulch each spring for the first two years.
Step 7: Plan Your First-Year Care and Initial Shaping
Year one is about root development, not height. Resist any urge to trim cedar during its first season — let it push new growth undisturbed. Cherry laurel can be lightly tidied after its first flush, but only to remove awkward outward branches. Do not cut it back significantly.
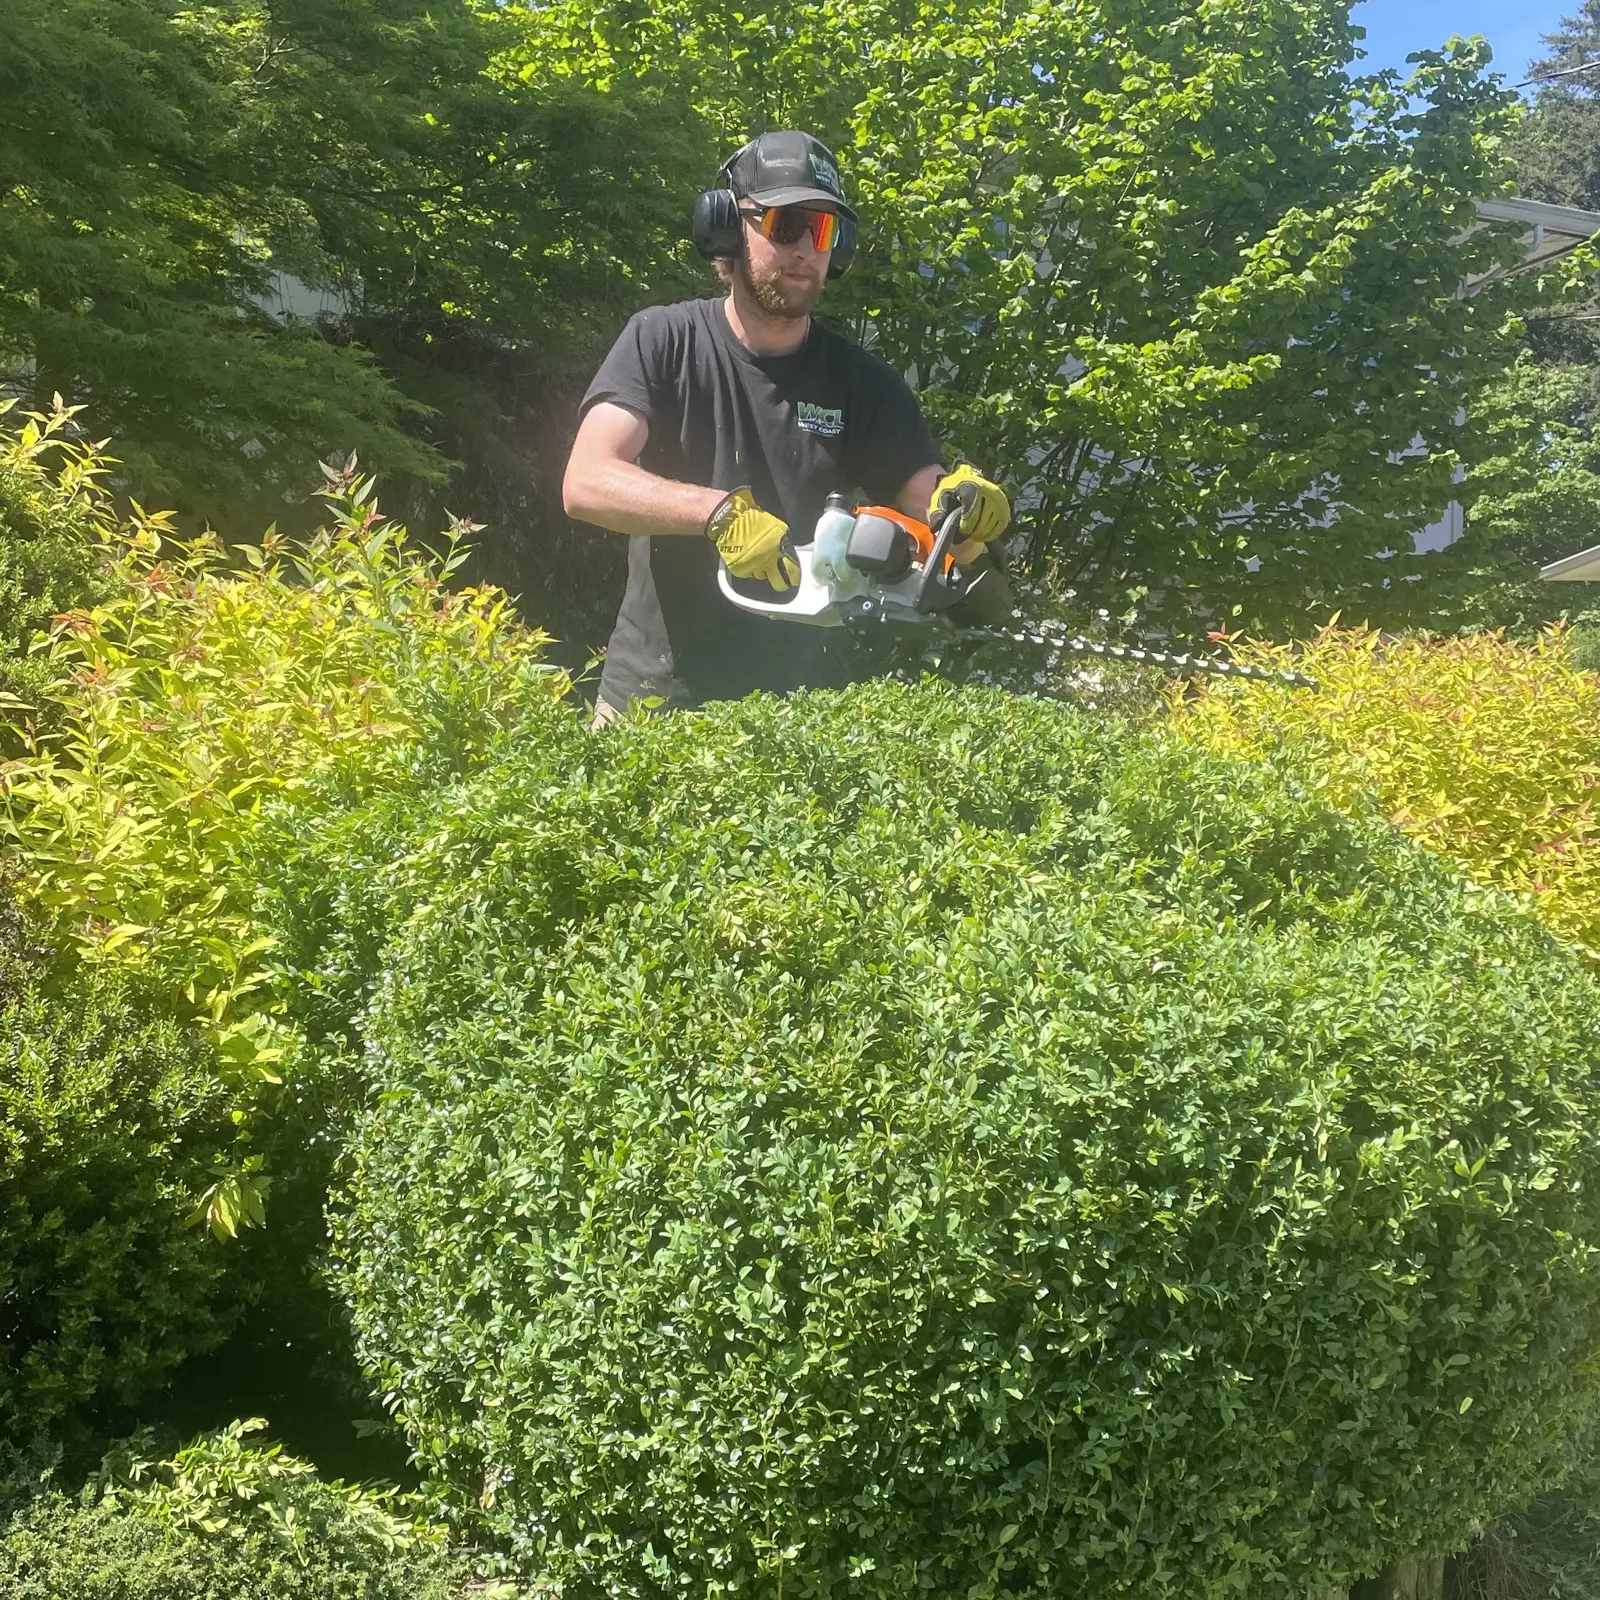
Once established, hedge trimming timing matters enormously. Cedar should be cut once per year in late July to early August — after the new growth has completed but before it hardens fully. Cherry laurel typically needs two passes: once in late spring (May to June) and again in August. Avoid trimming either species after late September on Vancouver Island; fresh cuts heading into a wet winter invite dieback at the cut face.
When a job needs extra hands, Matthew brings teammates from the Nanaimo Clippers to help. The crew shows up in WCL uniforms, works efficiently, and leaves the site cleaner than they found it — every last clipping hauled away to the composting facility.
A properly planted hedge is genuinely low-maintenance once established. The first summer is the hardest part — get the species right, keep the water up, and lay the mulch. From year two onward, a single annual trim and a spring top-up of mulch is usually all it takes to keep a Nanaimo cedar hedge looking exactly right.